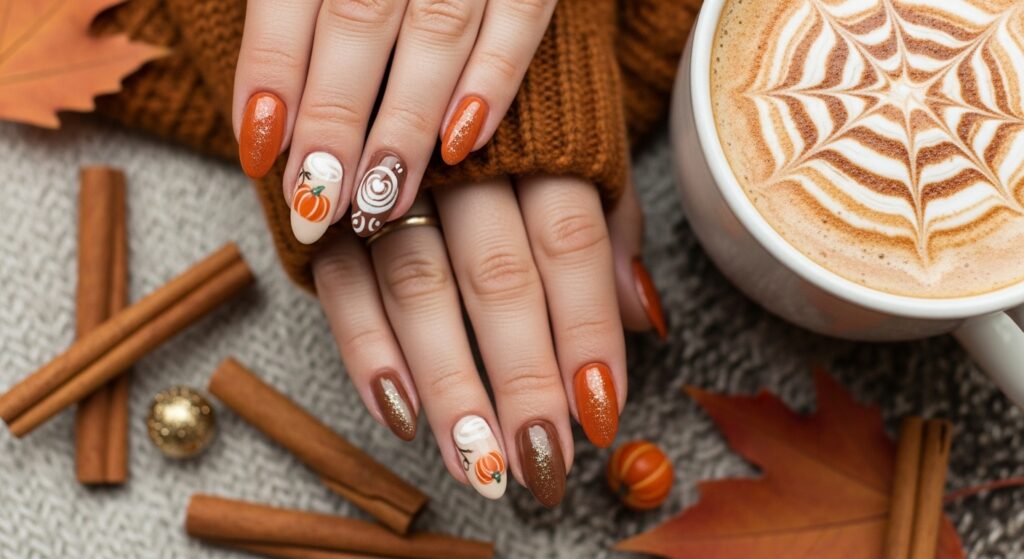
💅 Intro: Web-tastic Nails? You’re Nailed It, Babe!
Hey boo! 👻 Whether you’re headed to a haunted house party, passing out candy in style, or just want to give your nails a little spooky season love, this Spider-Web Halloween mani is for YOU. 🎃💅
It’s got the perfect combo of chic + creepy, and best of all—it works for every skill level. Yup, even if you’ve never painted more than a smiley face on your pinky finger, you’ll be webbing your claws like a total nail queen.
Bonus? Spider-web nails go with everything: witchy fits, gothic glam, or cute skeleton PJ sets. Let’s get into it, bestie!
🧰 Materials You’ll Need:
Let’s keep it simple, spooky, and slay-worthy:
Base Tools:
- Nail file + buffer
- Cuticle pusher
- Nail cleanser or rubbing alcohol
- Top coat (glossy or matte—your choice!)
Polishes:
- Base color: Black, dark purple, or blood red
- Web color: White or silver nail art polish (thin brush or striping brush)
- Optional: glitter top coat or small rhinestones for spider “bodies”
Tools:
- Thin nail art brush or striping brush
- Dotting tool or bobby pin tip
- Nail tape (optional for steady lines)
- Clean-up brush or angled eyeliner brush
- Acetone or nail polish remover
🕸️ Step-by-Step: Spooky Spider-Web Nail Tutorial
Step 1: Prep Like a Pro
Start with clean, trimmed nails. Gently push back your cuticles and buff the nail surface. This helps polish last longer and look smooth AF.
Wipe nails with alcohol or cleanser to remove oils.
Step 2: Apply Base Coat
This is your shield! It protects your nails from staining and helps polish stick. Let it dry completely.
Step 3: Lay Down the Spooky Base
Paint 1–2 coats of your dark base color (black is iconic, but deep red or plum is chef’s kiss). Let each coat dry before applying the next.
Step 4: Draw the Web Anchor Lines
Using your thin nail brush and white/silver polish, draw 3–4 thin lines radiating from one corner of your nail—like sunbeams. This will form the skeleton of your web.
Bestie tip: Start in the top left or right corner for a corner-web look.
Step 5: Connect the Web
Now, draw small curved lines between the “spokes” of the web. Think of tiny crescent moons or half-smiles. Space them evenly for a polished look.
👑 Pro trick: Keep your wrist steady and use your pinky as a rest point on the table to avoid shaky lines.
Step 6: Add Some Boo-tiful Details
Want to level up? Add a tiny dot where the lines meet and draw little legs with your striping brush—that’s your spider, baby!
Or place a tiny rhinestone for the spider body and draw eight spindly legs around it.
Step 7: Seal the Magic
Once everything is dry, apply your top coat. A matte finish gives a foggy, haunted vibe, while glossy top coat makes the webs pop.
Step 8: Optional Accent Nail
Do a full glitter nail, or a spooky dripping blood look on your ring finger for that ✨Halloween nail art drama✨.
🧼 Clean-Up + Finish Like a Pro
Even spooky queens need crisp edges! Here’s how to clean it up:
- Dip a flat or angled brush in acetone and carefully swipe around your cuticle and sides for that clean-salon look.
- Gently press a cotton swab into remover and clean any polish smudges from your fingertips.
💡 Pro tip: Do this before your top coat if you’ve gone rogue with the white polish—it’ll blend better!
👻 Why You’ll Love This Mani
- Works on short AND long nails
- Customizable with different colors or glitter
- Dries fast (perfect for last-minute party preps)
- Makes even a basic outfit look spooky chic
Plus, you can pair this with spider earrings, a black choker, or a witchy hat and BOOM—instant Halloween queen energy.