Hey Sara! Ready to channel luxe marble countertops onto your nails? Marble nail art is timelessly chic and surprisingly DIY-friendly. With a few simple tools and techniques, you’ll be sporting gallery-worthy stone swirls in no time. Let’s dive in! 🖤🤍
Why We Love Marble Nails
- Versatility: Works on any nail shape, length, or base color.
- Elegance: Instantly elevates your look—perfect for work, weddings, or just feeling glam.
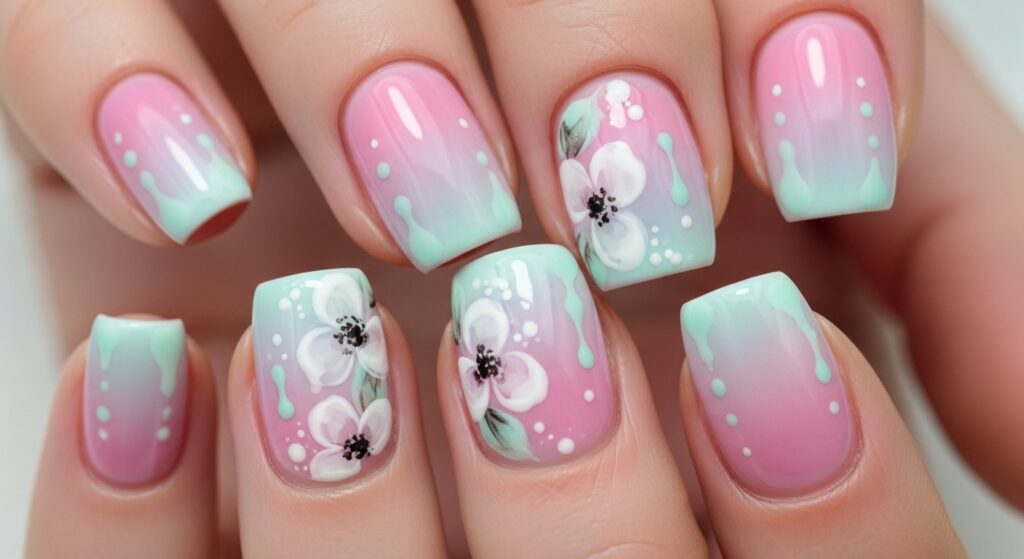
- Customization: Swap out classic black-and-white for colored marble (think rose gold, ocean blue, or mint green).
What You’ll Need
- Base coat & topcoat
- Two or three nail-polish shades (e.g., white, light gray, charcoal)
- A thin striping brush or fine nail-art brush
- A small piece of plastic wrap or cling film
- Rubbing alcohol (optional)
- Acetone & clean-up brush (angled liner brush)
Step-by-Step Marble Technique
- Prep & Base
- Start with clean, filed nails.
- Apply a thin base coat to protect your natural nails.
- Two coats of your lightest shade (e.g., white or pale gray) make the marble pop.
- Create the Stone Veins
- Method A (Brush):
- Thin out a medium-gray polish with a drop of acetone on a palette.
- Load your striping brush lightly—less is more.
- Gently sketch random, jagged lines (“veins”) across the nail. Vary thickness and direction.
- Method B (Plastic Wrap):
- Drip small dots of gray and charcoal onto the white base while it’s still tacky.
- Crumple a tiny piece of wrap and dab over the dots to soften edges—this gives a natural, marbled texture.
- Method A (Brush):
- Soften & Blend
- If veins look too harsh, lightly swipe a small amount of rubbing alcohol over the nail. This diffuses edges and creates a more organic look.
- Use the clean-up brush dipped in acetone to refine any spots near the cuticle.
- Layer & Deepen
- For depth, repeat the vein step with darker charcoal polish in a few areas.
- Balance heavy and light veins—real marble has both bold streaks and faint wisps.
- Seal with Gloss
- Once dry, apply a generous topcoat. This smooths the texture and gives your nails that polished-stone shine.
Pro Tips & Variations
- Color Play: Try rose-gold veins over a blush base for a feminine twist, or navy veins over cream for nautical vibes.
- Accent Nails: Marble two fingers and paint the rest in a coordinating solid color for a balanced look.
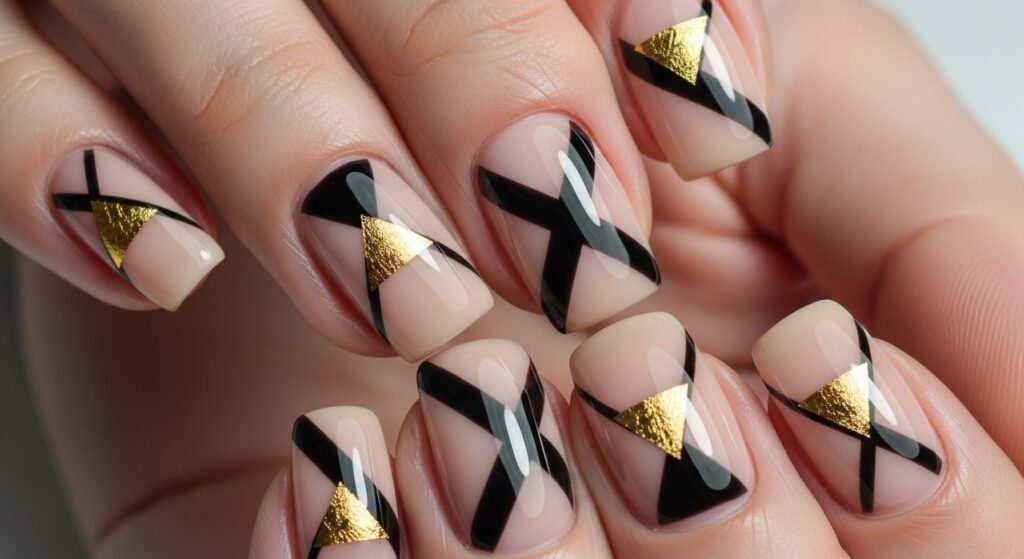
- Metallic Veins: Swap charcoal for metallic silver or gold for extra glam.