A perfect manicure starts long before the polish goes on—it begins with healthy, well-groomed cuticles. Neglecting this step can lead to chipped edges, rough hangnails, and that “just-done” look fading in a day. Follow these simple, salon-level tips to get your cuticles camera-ready every time.
1. Soak & Soften
Begin by filling a bowl with warm (not hot) water and adding a drop of gentle hand soap or a pinch of Epsom salt. Soak your fingertips for 5–7 minutes. This hydrates hardened cuticle tissue and makes them pliable.
Pro Tip: Add a squeeze of fresh lemon juice for a brightening boost and extra softening power.
2. Apply a Cuticle Remover
Pat your nails dry and apply a thin layer of a cuticle-softening cream or liquid remover to the base of each nail. Let it sit 1–2 minutes (follow the product instructions). This helps loosen dead tissue so you can remove it cleanly.
3. Gently Push Back
Using a wooden orangewood stick or a non-metal cuticle pusher, work along the nail’s edge to coax the softened cuticle back toward the nail fold. Take your time—forcing can tear live tissue and lead to infection.
4. Trim Only When Necessary
If you have loose, hanging bits of cuticle (hangnails), snip them very carefully with a sharp, sanitized cuticle nipper. Only remove the dead skin you can lift easily—never cut into living cuticle.
5. Rinse & Hydrate
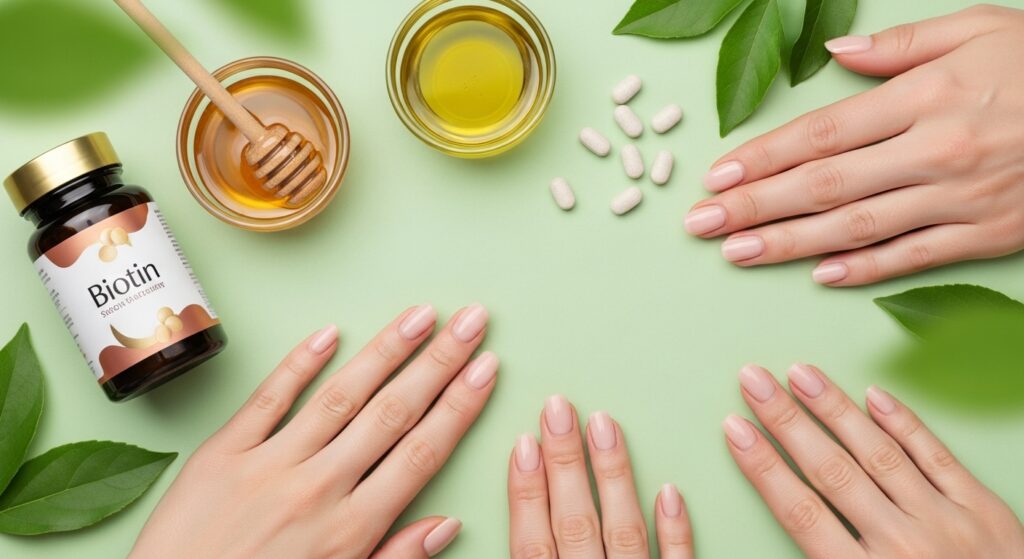
Rinse your hands to remove any leftover product, then pat dry. Immediately massage a drop of nourishing cuticle oil (jojoba or almond-based) into each nail fold. This seals in moisture and strengthens the new nail edge.
6. Finish with a Base Coat
Before your colored polish, swipe on a hydrating base coat. This barrier protects the new growth you see at the cuticle line and prevents staining—plus it gives your mani a smoother finish.