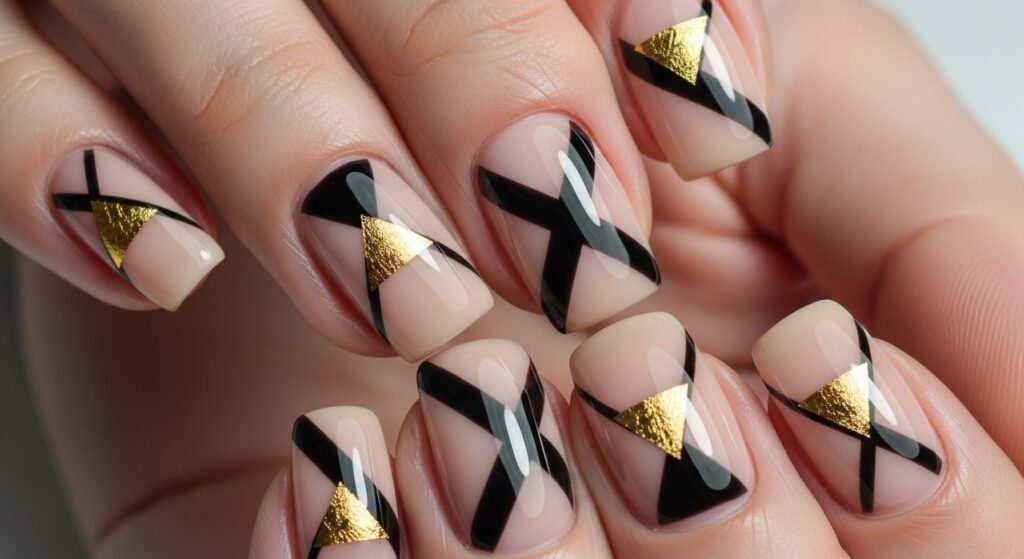
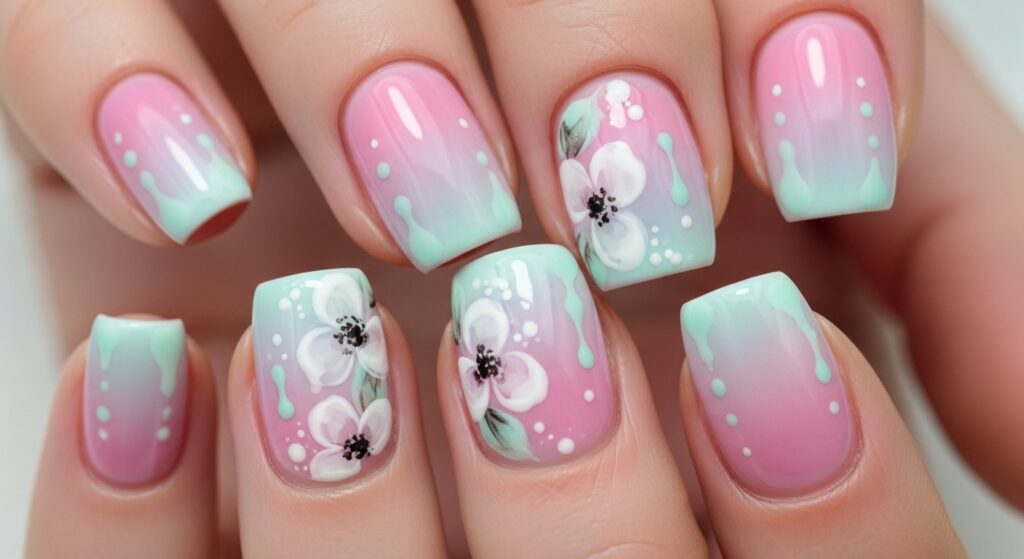
Ready to create mesmerizing, swirled rainbows on your nails? Water marbling turns each finger into a vibrant, one-of-a-kind work of art. Grab a cup of room-temperature water, your brightest polishes, and let’s dive into this fun, splashy tutorial!
Why You’ll Love This Look
- Unique Results: No two nails turn out the same—each swirl is art.
- Vibrant & Fun: Perfect for summer festivals, parties, or cheering up a gloomy day.
- Mindful Craft: The slow, deliberate dripping and swirling is almost meditative.
- Endless Color Combos: Mix neons, pastels, or your team’s colors.
Materials You’ll Need
- Base Coat & Top Coat
- Five to Seven Nail Polishes: Wide-mouth bottles work best; choose a rainbow palette (red, orange, yellow, green, blue, purple) or any favorites
- Room-Temperature Water: In a disposable cup or bowl—avoid cold or hot water
- Tape or Liquid Latex Barrier: To protect skin around nails
- Toothpick or Fine Dotting Tool: For swirling the polish
- Paper Towels & Q-tips: For clean-up
- Small Stir Stick: To mix water lightly beforehand
Step-by-Step Tutorial
- Prep & Protect
- File and shape nails, lightly buff, and push back cuticles.
- Apply base coat and let dry.
- Surround nails with tape or brush on liquid latex to catch excess polish.
- Build Your Color Rings
- Drip one drop of red polish into the center of the water’s surface. The drop should spread into a thin ring.
- Add an orange drop into the red ring, then yellow into the orange, continuing through your color lineup. You’ll see concentric rings form—add quickly before the polish dries on the surface.
- Swirl Your Marble
- Using a toothpick, gently drag from the outermost ring toward the center, creating petal or wave patterns.
- For a classic swirl, draw one continuous line from the outer ring through all colors back to the outer edge.
- Experiment with zig-zags or loops—each swipe creates a different design.
- Dip & Clean
- Align your nail parallel to the water surface and dip it through the polish ring.
- Keep your finger submerged for 3–5 seconds.
- Use a stir stick to clear the remaining polish from the water’s surface before removing your finger.
- Reveal & Repeat
- Peel away tape or liquid latex—your nail will reveal the marbled pattern.
- Wipe around edges with a Q-tip dipped in remover.
- Repeat for each nail, refreshing your water and color rings every 2–3 dips.
- Seal the Art
- After all nails are dry, apply two coats of a glossy top coat to smooth the surface and lock in your design.
- Let nails dry completely—water marble polish layers can take a bit longer to set.
- Final Touches
- If you notice any bumps or uneven spots, add a third thin top coat.
- Moisturize cuticles with oil to finish your spa-like manicure.