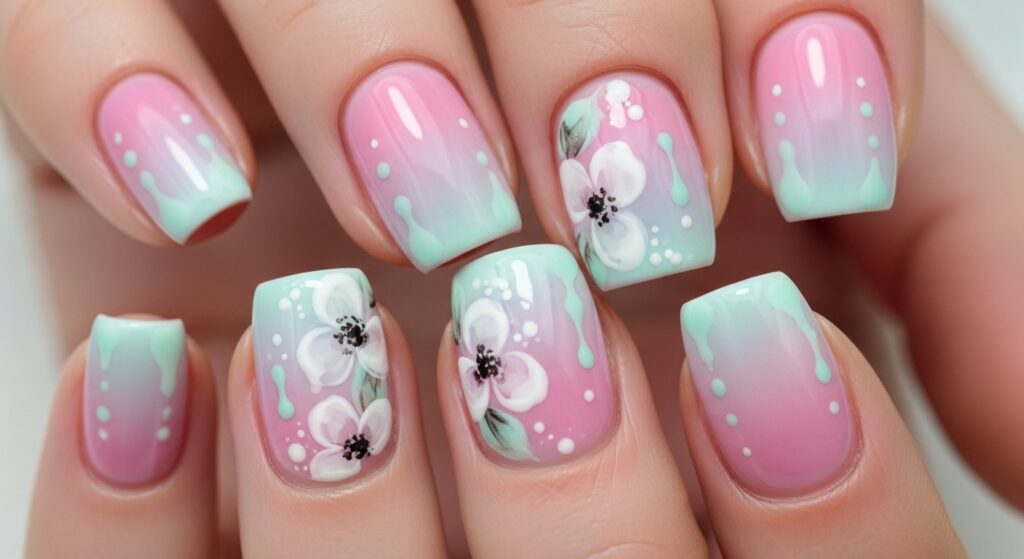
Add a sparkle gradient to your nails with this dazzling ombre glitter look—perfect for parties, date nights, or anytime you want a bit of glam. Follow these steps to blend glitter seamlessly from cuticle to tip for a magical, eye-catching finish.
Why You’ll Love This Look
- Subtle to Bold: Adjust glitter density for a soft shimmer or full-on sparkle.
- Versatile: Match any outfit with your choice of glitter hues.
- Long-Lasting: Top coat seals in glitter for chip-resistant wear.
Materials You’ll Need
- Base Coat & Top Coat
- Two Nail Polishes: One neutral or pastel base (e.g., pale pink, nude) and one clear polish with fine glitter or chunky holo glitter
- Makeup Sponge
- Small Flat Brush (optional, for clean-up)
- Nail Polish Remover & Cotton Swabs
Step-by-Step Tutorial
- Prep & Base
- Shape your nails, buff lightly, and push back cuticles.
- Wipe nails clean with remover.
- Apply a thin base coat; let it dry completely.
- Apply Base Color
- Paint two thin coats of your neutral base polish.
- Allow full drying between coats.
- Create the Ombre Gradient
- On a makeup sponge, paint a stripe of clear glitter polish next to a stripe of base polish (they should slightly overlap).
- Dab the sponge gently onto your nail, starting at the tip and working downward to blend.
- Repeat dabbing until you achieve your desired gradient intensity—more dabs at the tip, fewer toward the base.
- Let dry, then reapply dabs if you want extra sparkle.
- Seal & Smooth
- Brush on a thick layer of top coat to smooth the glitter and lock everything in place.
- If the surface feels bumpy, add a second thin top coat.
- Clean-Up
- Dip a small brush or cotton swab in remover.
- Neaten edges around cuticles for a crisp, polished look.