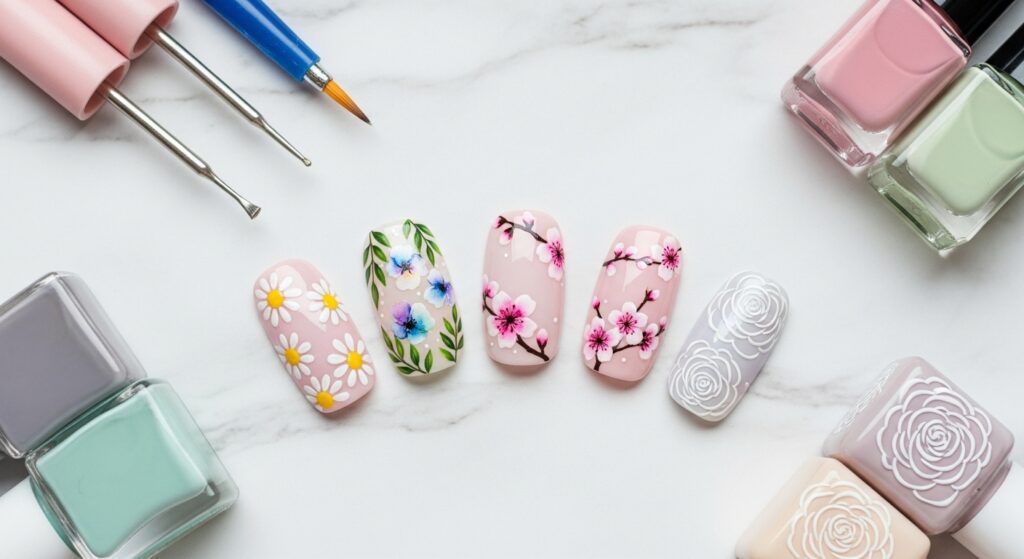
Transform your nails into mini canvases with a dreamy floral watercolor design—no salon required! Whether you’re a nail art newbie or a seasoned polish pro, this step-by-step guide will walk you through creating delicate blooms that look hand-painted. Grab your favorite pastel polishes, a fine detail brush, and let’s get creative!
Why You’ll Love This Look
- Effortless Elegance: Soft, watercolor-style flowers add a touch of romance to any outfit.
- Customizable: Pick your color palette—vibrant corals, calming lavenders, or classic pinks.
- Budget-Friendly: Uses standard nail polishes you probably already own.
Materials You’ll Need
- Base Coat & Top Coat: For durability and shine.
- Pastel Nail Polishes: At least three complementary colors (e.g., blush pink, mint green, lavender).
- White Nail Polish: For flower centers and highlights.
- Fine Detail Brush or Toothpick: To paint petals.
- Makeup Sponge: To blend colors for the watercolor effect.
- Nail Polish Remover & Cotton Swabs: For clean-up.
Step-by-Step Tutorial
- Prep & Prime
- File and buff your nails into your preferred shape.
- Push back cuticles and wipe nails clean.
- Apply a thin layer of base coat; let dry fully.
- Create the Watercolor Base
- On a paper palette or foil, place a dot of each pastel polish.
- Dip your sponge lightly into two colors, then dab gently onto the nail, overlapping to blend.
- Repeat until the entire nail has a soft, diffused gradient. Let dry.
- Paint the Floral Shapes
- Using a fine detail brush (or toothpick), dip into first pastel color.
- Lightly sketch five small, uneven petals in a loose circle.
- Switch to a second color to add depth by dotting the center of each petal.
- Add White Highlights
- With white polish, dot the center of each flower.
- Paint tiny lines at the petal edges for a watercolor “bleed” effect.
- If desired, add a few random white dots around the flowers for a painterly look.
- Seal & Shine
- Once everything is fully dry, apply a generous layer of glossy top coat.
- This will blend the edges and give your design that soft-focus finish.
- Clean-Up
- Dip a small brush or cotton swab in remover.
- Tidy around cuticles and edges for a crisp, professional result.