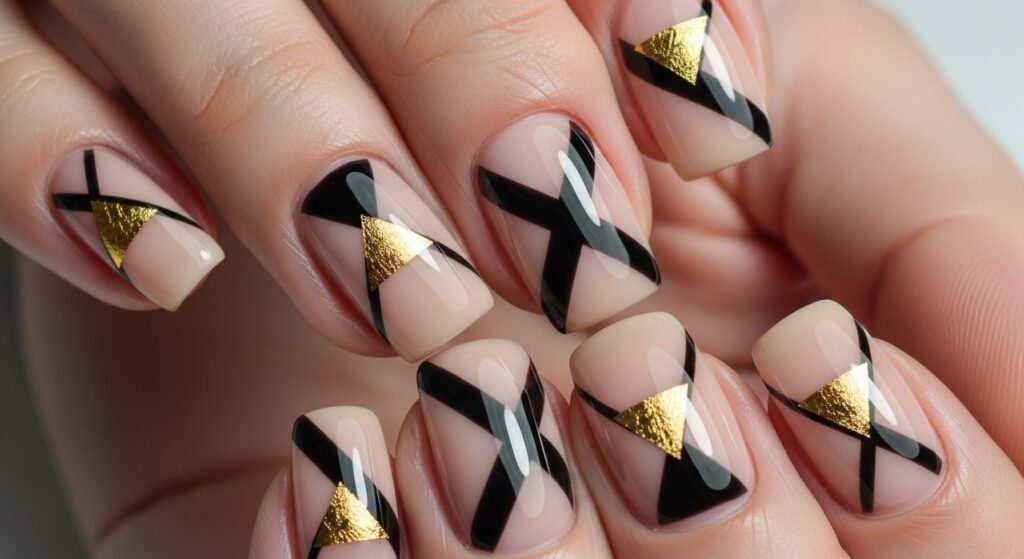
Elevate your mani with an artsy, gallery-worthy look—no fine motor masterpiece required! This abstract brush stroke design uses bold swipes of color and negative space to create a modern, minimalist statement on each nail. Perfect for anyone who loves contemporary art and wants a fresh spin on at-home nail art.
Why You’ll Love This Look
- Artistic Vibes: Feels like you’ve just walked out of a chic art studio.
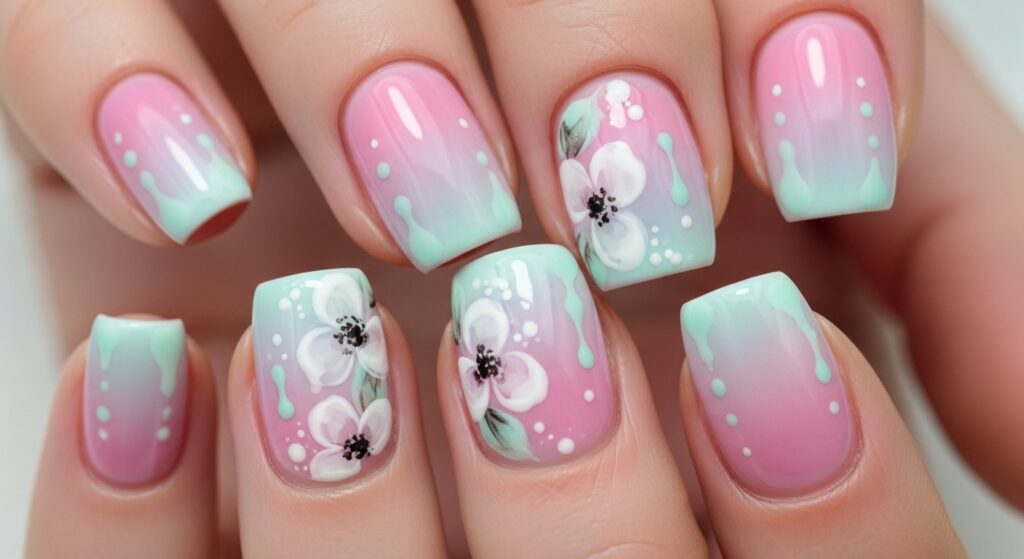
- Totally Customizable: Pick any two or three colors—neutrals for understated elegance or brights for a pop-art feel.
- Beginner-Friendly: No need for perfect lines—embrace the beauty of imperfect brush strokes.
- Fast & Flexible: Quick to paint and easy to tweak if you want to refresh a single nail.
What You’ll Need
- Base Coat & Top Coat (high-shine formula recommended)
- Neutral Base Polish: White, nude, or pale gray
- Two Accent Polishes: Contrasting shades (e.g., black and mustard; navy and blush; emerald and gold)
- Flat Nail Art Brush (or the brush that comes with polish)
- Acetone & a Small Clean-Up Brush (for tidying edges)
- Paper Towel or Palette (to wipe off excess polish)
Step-by-Step Tutorial
- Prep Your Canvas
- File nails into your desired shape and buff lightly.
- Push back cuticles and wipe nails with polish remover to remove oils.
- Apply a thin base coat; let it dry completely.
- Lay Down the Foundation
- Paint two even coats of your neutral base polish.
- Allow each coat to dry fully—this gives a crisp backdrop for your strokes.
- Create the First Brush Stroke
- Pour a small amount of your first accent color onto a palette or paper towel.
- Lightly drag the flat brush in one swift motion across the nail, leaving a sheer, uneven stripe.
- Vary the angle and pressure to get different widths and levels of opacity.
- Add Dimension with a Second Color
- Wipe your brush clean, then dip into the second accent shade.
- Paint a shorter, slightly overlapping stroke—this layering adds depth and intrigue.
- Feel free to repeat on random nails or keep it to one stroke per nail for a minimal look.
- Embrace the Negative Space
- Leave parts of the base polish visible—this “white space” balances the design and keeps it modern.
- If you want extra flair, you can add a tiny dot or a third mini-stroke in a metallic polish.
- Seal & Shine
- Once all strokes are dry (about 5–7 minutes), apply a generous layer of top coat.
- The glossy finish will blend the edges and protect your artwork.
- Clean Up
- Dip a small brush in acetone and gently tidy around cuticles and sidewalls.
- Remove any stray polish for crisp, gallery-ready nails.