Bestie, if you’ve ever looked down at your hands and thought, “Ugh, these need something,” then it’s time to dive into the world of acrylic nails! Whether you’re a nail art newbie or a DIY diva, acrylics are your go-to for strong, long-lasting, and totally customizable nails that scream confidence and creativity.
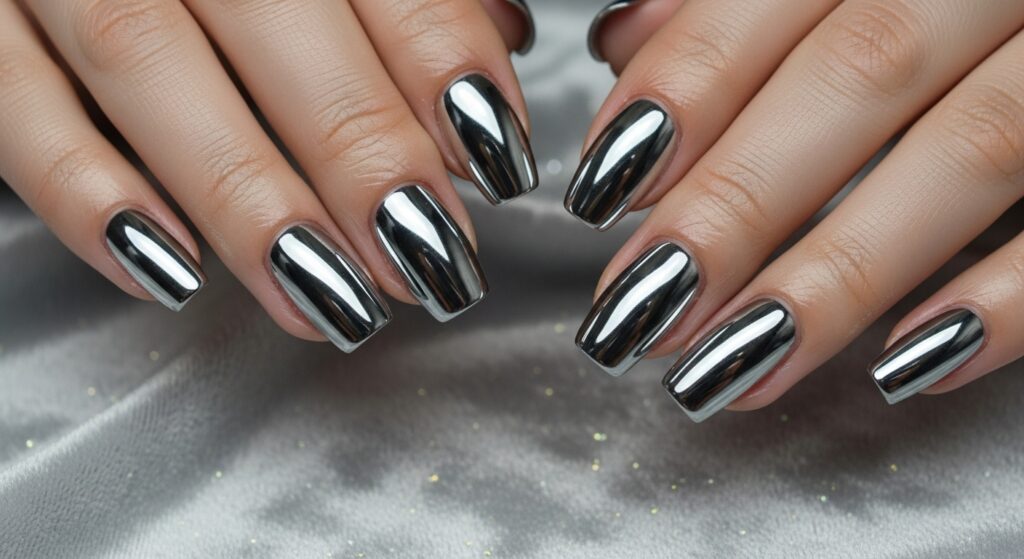
From classic nude almond shapes to dramatic coffin-style designs with rhinestones, acrylic nails give you endless options to express your style. Plus, they’re perfect for nail biters or anyone whose natural nails just refuse to grow.
And the best part? You can do them at home—yes, really. With the right tools and some patience, your nails can look like they just walked out of a salon.
🧰 Materials You’ll Need (Tools + Polishes)
Before we dive into the steps, here’s your glam toolkit checklist:
💅 Acrylic Nail Essentials:
- Acrylic nail powder (clear or pink)
- Acrylic liquid (monomer)
- Nail tips or nail forms
- Nail glue
- Nail file + buffer
- Dappen dish (for the acrylic liquid)
- Acrylic brush (size 8-10 is great for beginners)
- Primer + dehydrator (optional but helps with longevity)
- Base coat + top coat
- Nail clippers or tip cutter
- Cuticle pusher
- Acetone (for clean-up)
- Paper towels or lint-free wipes
💅 Optional Add-ons for Designs:
- Nail polish (any color you love)
- Glitter, rhinestones, or foil
- Nail art brush or dotting tools
- UV/LED lamp (if using gel top coat)
✨ 6–8 Step Acrylic Nail Tutorial (DIY Made Easy)
Let’s get to the good part—doing the nails! Whether you’re going for classy or flashy, these steps will guide you through a basic, beginner-friendly acrylic nail application that you can build on.
Step 1: Prep the Natural Nail
Start by washing your hands and pushing back your cuticles. Use a nail file to shape your natural nails and gently buff the surface to remove shine. Wipe away dust with a lint-free wipe and some alcohol or acetone.
💡 Pro Tip: A clean, oil-free nail bed helps acrylic stick better and last longer.
Step 2: Apply Nail Tips or Forms
If using nail tips, apply a small dot of glue to the tip and press it onto the edge of your natural nail. Trim to your desired length and shape.
If using nail forms, wrap them under the natural nail to create a base for building acrylic.
Step 3: Prime Time
Apply nail dehydrator and primer to the natural nail only—not the tips. This step is optional, but it helps the acrylic adhere better and prevents lifting.
Step 4: Mix and Apply Acrylic
Dip your acrylic brush into the monomer, then into the acrylic powder to form a small bead (think soft marshmallow texture). Place the bead near the center of the nail and gently press and spread it toward the cuticle and tip.
💡 Blend and pat—not brush like polish. Use small beads to build the nail structure gradually.
Repeat until each nail has a smooth, even surface. Make sure the apex (middle part of the nail) is slightly thicker for strength.
Step 5: Let It Dry
Wait 2–3 minutes for the acrylic to harden completely. You’ll know it’s ready when it makes a light tapping sound.
Step 6: Shape and Buff
Use your file to shape the nail into your desired look—square, almond, coffin, stiletto—your nails, your rules. Then, buff the surface until smooth and even.
Step 7: Paint and Slay
Apply your favorite nail polish color or go wild with glitter, ombré, or rhinestones. Let it dry completely or cure under a UV lamp if using gel polish.
Step 8: Seal the Deal
Finish with a top coat to lock in the shine and protect your design. Don’t skip this—it adds durability and makes everything look polished and professional. Cure under a UV/LED lamp if needed.
🧼 Clean-Up + Finishing Tips
- Use a clean brush dipped in acetone to perfect the cuticle line before the acrylic dries.
- For excess acrylic or lumpy edges, gently buff or file—take your time!
- Moisturize your hands and cuticles with oil or lotion after everything’s dry. Hydration is the ✨ key ✨ to keeping your nails and hands looking fresh.
- Clean your brush after every session with monomer or brush cleaner to keep it in good shape.
💬 Final Thoughts: You Nailed It!
Congrats, bestie! 💕 You just gave yourself a fabulous acrylic manicure—how iconic is that? Whether you’re flaunting your fresh set on TikTok or just feeling yourself at home, there’s something magical about rocking nails you did yourself.
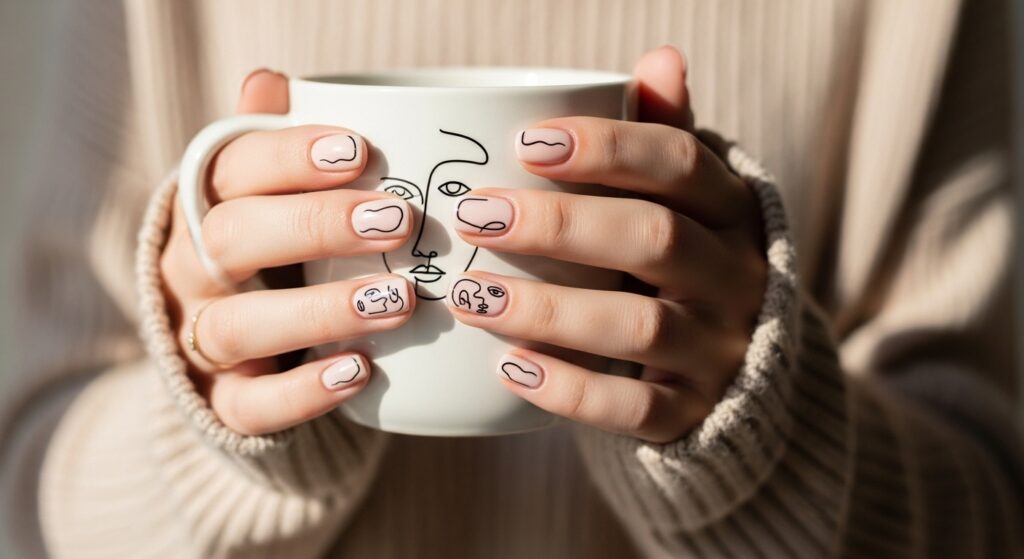
As you practice, you’ll get faster and smoother. Want to level up? Try French tips, marble effects, or 3D nail art next time. The possibilities are endless, and your nail journey has only just begun.