Hey Sara! 🌸 Ready to turn your nails into a blooming garden? Floral nail art is timeless, versatile, and surprisingly beginner-friendly. Below, I’m walking you through five unique flower-inspired designs with in-depth tips, alternative color schemes, and troubleshooting hacks so you feel like a pro every time. Let’s grow those petals!
Why Floral Nail Art Rocks
Floral motifs instantly elevate any look—whether you’re off to school, hanging out with friends, or gearing up for a family event. Plus, flowers come in infinite shapes and colors, so you can match your mani to every season, outfit, or mood.
1. Classic Daisy Dots
Materials Needed: White polish, yellow polish, pastel base (mint/peach/lilac), dotting tool (or bobby pin).
- Prep & Base: File and buff your nails, then apply two coats of pastel base. This gives your daisies a soft backdrop.
- Forming Petals: Dip your dotting tool into white polish. Gently press five dots in a circle—think of a tiny pentagon shape.
- Center Pop: Switch to yellow polish on the dotter and place a single central dot.
- Finishing Touch: Seal with glossy topcoat; it smooths over any uneven dots and gives your daisies realistic shine.
Pro Tip: If your white dots look too thick, wipe one side of the dotting tool so it holds less polish, giving you cleaner circles.
2. Watercolor Wildflowers
Materials Needed: White base, nail polish thinner (or acetone), multiple polish colors (red, purple, blue), fine brush.
- Canvas Prep: Paint nails white—this makes colors blend like real watercolors.
- Thin & Dab: Mix a drop of color with thinner on a palette. Use the corner of a sponge or brush to lightly dab each hue, creating translucent “petal” shapes.
- Outline Petals: Once dry, use a fine brush dipped in a darker shade (e.g., maroon around red) to gently outline a few petals.
- Seal & Protect: Topcoat immediately—watercolor nails dry matte, so a clear gloss brings out the luminosity.
Troubleshoot: If colors pool or run, let each shade dry 30 seconds before adding the next.
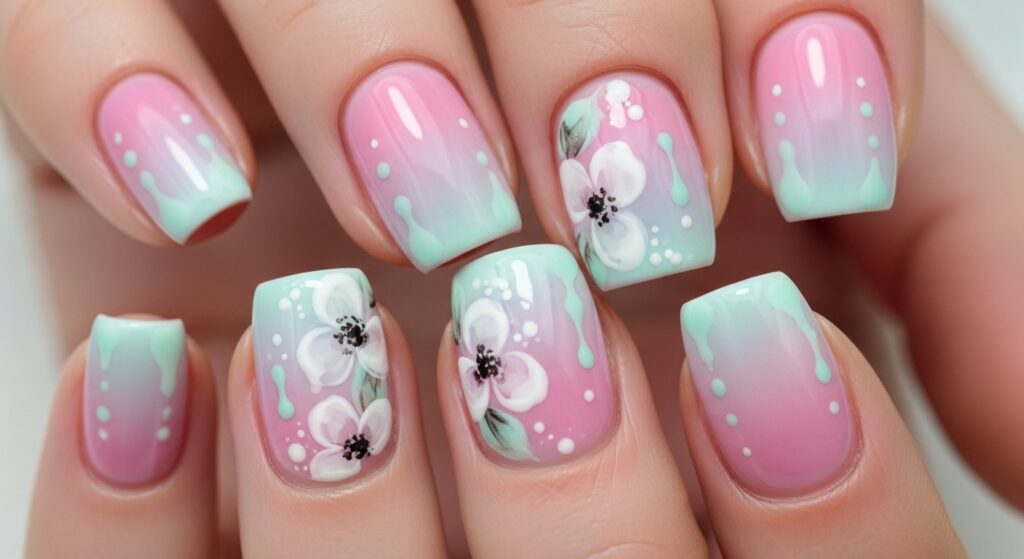
3. Cherry Blossom Accent Nail
Materials Needed: Soft pink polish, white polish, gold/yellow accent, toothpick.
- Warm-Up Base: Apply two coats of delicate pink to all nails.
- Flower Layering: On your ring finger, dip a toothpick in white polish. Create clusters of five small petals—avoid perfect circles; cherry blossoms are naturally uneven.
- Golden Centers: Use the tip of a pin with gold or yellow polish to dot each blossom’s heart.
- Depth & Dimension: For extra realism, add a tiny second dot of white off-center before topping with gold.
Variation: Scatter a few single blossoms on your thumb or pinky to balance the accent nail.
4. Leafy Greenery Full-Nail Design
Materials Needed: Nude or sheer base, light green polish, dark green polish, striping brush.
- Neutral Canvas: One or two coats of nude.
- Painting Leaves: With the striping brush, sketch long, curved strokes radiating from the cuticle area using light green.
- Detailing Veins: Once dry, go back in with dark green to paint thin vein lines on each leaf.
- Gossamer Gloss: A thin topcoat preserves the delicate leaf shapes without flooding them.
Alternative: Swap greens for autumn tones—burnt orange and deep brown—for a fall-inspired look.
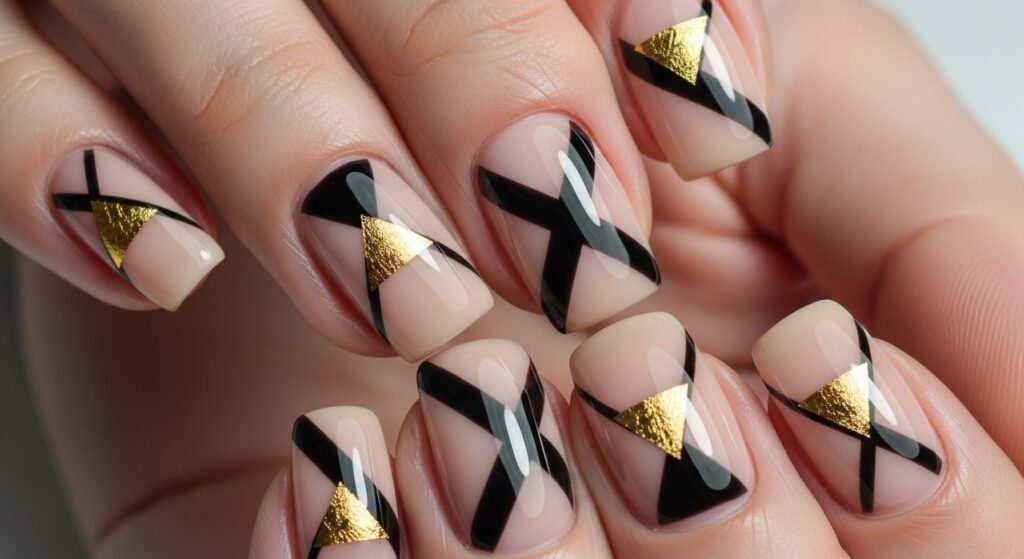
5. Elegant Rose Outline Art
Materials Needed: Deep burgundy or black base, white striping polish, pink fill color, fine detailing brush.
- Dark Base: Two coats of rich burgundy (or black).
- Sketching Roses: Use white striping polish to draw loose, looping petals—imagine a spiral at the center, then build outwards.
- Soft Fill: Carefully fill inner petals with a dusty pink, leaving the white outlines crisp.
- Contrast Topcoat: A high-gloss seal accentuates the contrast between light outlines and dark background.
Challenge Level: Intermediate. Practice petal shapes on a plastic tip before painting on your nail if you’re new to fine lines.
Wrap-Up & Inspiration
Floral nail art is all about experimentation and play. Once you’ve mastered these five designs, mix and match—daisy clusters with watercolor backgrounds, or leafy accents beside rose outlines. Remember, imperfections give character; every petal will be uniquely yours. Now grab your polishes, queue up your favorite playlist, and let’s bloom! 🌼💅
Blog 2: Chromatic Gradient Nail Art Tutorial: Step-by-Step Guide (In-Depth)
Hey bestie! 🌈 Gradient nails (a.k.a. ombré nails) are the perfect blend of artistry and chic simplicity. Whether you’re craving a sunset fade or a bold two-tone look, this guide dives deep into every nuance—from color selection to clean-up—so your manicure is smooth, seamless, and totally salon-worthy.
Understanding the Gradient Effect
A gradient manicure blends two or more colors so they transition fluidly from one shade to the next. It creates dimension, elongates the nails visually, and complements any outfit.
Tools & Prep Checklist
- Polishes: Two to three coordinating shades plus white base polish.
- Makeup sponge: Cosmetic wedges or strip-cut kitchen sponges work too.
- Nail tape or liquid latex: For easy clean-up around cuticles.
- Small clean-up brush: Thin, angled eyeliner brush is ideal.
- Topcoat: Glossy or matte, depending on your vibe.
1. Nail Prep & Base Application
- Shape & Buff: File nails into your desired shape (square, almond, stiletto) and buff the surface lightly.
- Base Coat: Protect your natural nail—two thin layers.
- White Foundation: One to two coats of white polish amplify your gradient’s vibrancy.
2. Color Layout on Sponge
- Layer Stripes: Paint horizontal bands of polish side by side on the sponge. Slightly overlap colors so they blend when dabbing.
- Work Quickly: Polishes dry on sponge surfaces—prep all nails before the first layer sets.
3. Sponging Technique
- First Press: Gently press the sponge onto your nail, rolling just enough to cover the width.
- Reapply Polish: After each nail, refresh colors on the sponge to maintain opacity.
- Multiple Layers: Aim for 2–3 sponging passes, letting each dry ~60 seconds before the next.
4. Edge Clean-Up
- Barrier Removal: Peel off tape or latex if used.
- Detail Work: Dip your brush in nail-polish remover and swipe around cuticles for sharp, clean lines.
Time-Saving Hack: Use a small piece of paper at the cuticle corner to catch runoff when sponging.
5. Sealing & Finishing
- Topcoat Layer: Apply one generous coat to smooth out the sponge texture and blend colors further.
- Second Coat: Optional, once dry, for extra gloss and durability.
- Drying Aid: Spritz a quick-dry spray or use a fan to speed up the process.
6. Next-Level Variations
- Glitter Fade: After the gradient dries, dab a sheer glitter polish on just the tips.
- Multicolor Rainbow: Use four to five pastel or neon shades for a festival-ready look.
- Metallic Accents: Add foil pieces or metallic striping tape in the transition zone.
Troubleshooting & Pro Tips
- Patchy Spots: Ensure each sponging pass overlaps slightly with the previous layer.
- Streaks: Dampen your sponge before painting polish on—it helps color glide on smoother.
- Dry, Cracked Lines: If your sponge drags, polish may have dried too much. Refresh colors more often or work faster.
Wrap-Up
Mastering gradient nails is all about patience and practice. Don’t stress if the first few tries feel uneven—each attempt hones your timing and pressure. Soon you’ll be alternating textures, mixing metallics, and even teaching your friends! So, prep that playlist, line up your polishes, and let your creativity fade from one hue to the next. You’ve got this! 💖✨